

Home › Resources › A Buyer’s Guide to Thermoforming Tooling & Molds
A Buyer’s Guide to Thermoforming Tooling & Molds
What a thermoforming tool does, what drives its cost, and what to know before you buy one or move one.
Thermoforming tooling affects a part’s shape, surface detail and release. OEM buyers also need to settle trimming, ownership and how to move production later. Start with the finished part and the surfaces it mates to. Agree on what the tooling purchase includes and how you’ll check the first formed parts.
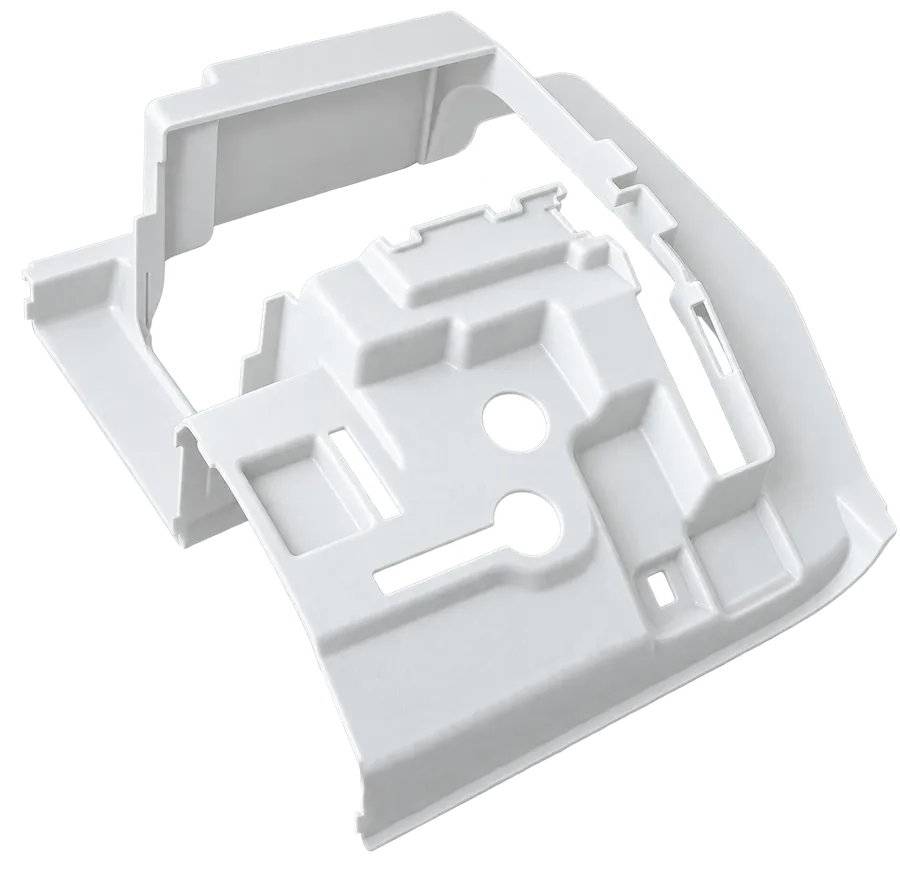
What the forming tool does
A forming tool gives heated plastic sheet its shape. Thermoforming molds are typically single-sided, with the sheet touching one shaped surface. Vacuum forming removes air between the sheet and tool. Trapped air needs an escape path so the sheet can reach the tool’s contours. For how we run parts, see custom vacuum forming services.
The tool-contact side generally picks up detail most directly. Sheet thickness and stretching also affect the opposite surface. Mark the surfaces that control fit before choosing which side touches the tool.
Male and female tools
Draft, corner shape and draw depth affect stretching and removal with either orientation. Choose the tool around the dimensions that matter after cooling and trimming.
- Male tool. The sheet forms over a projecting shape. The inside of a shell generally touches the tool.
- Female tool. The sheet forms into a cavity. The outside of a shell generally touches the tool.
- Choose the contact side. Use mating surfaces, visible detail and release requirements to choose which side touches the tool.
Prototype and production tools
Prototype tools often test shape, fit or forming behavior before production tooling is built. Production tools are generally designed for repeated use and the planned manufacturing process.
Ask what the prototype will test and what will remain unproven. A fit check may leave final appearance or production behavior unresolved. Put the tool’s intended use and part acceptance requirements in the proposal.
Across the industry, prototype tools are often wood, epoxy or composite, and production tools are usually aluminum, often temperature-controlled. That’s general practice, not a description of any one shop’s tooling, so ask your supplier what they’d build for your part.
Trim fixtures and fit
A trim fixture supports and locates the formed part while excess material, holes and openings are cut. Its reference points locate cuts against the formed shape. A shell can fit correctly and still cause assembly trouble if an edge or mounting hole is misplaced.
Plan forming and trimming together for heavy-gauge parts. Show edges, openings and mating surfaces on the drawing. Mark the features that locate the part in the assembly.
Tool ownership
The purchase agreement sets tool ownership, storage, maintenance responsibility and release conditions. Spell out whether trim fixtures and other dedicated items are included. Record the tool identification and the part revision it supports.
Move an existing tool
Before moving a tool, check its dimensions and condition against the receiving machine’s requirements. Send available drawings, photos, recent samples and known production issues. The tool transfer guide covers the handoff and approval steps.
What drives tooling cost
Compare proposals using the same drawing revision and scope. A single-sided forming tool typically costs less than an injection mold. Include trimming and other dedicated equipment in the total.
- Part size. Larger parts generally need larger tools and more handling during preparation and setup.
- Surface detail. Demanding contours or surface requirements can add tool design and preparation work.
- Part features. Deep draws, difficult release shapes and closely grouped features can complicate forming.
- Cavity count. Forming several parts on one tool can make tooling more complex and change production costs.
Four ways to start with Shirley K’s
See our tool transfer service if you already have tooling.
- Move your current tool. We check the tool, plan the move and run first articles for your approval.
- Send your tool design. We’ll use your existing tool design to start discussing the part you need.
- Send your part design. Send your part drawing or CAD model, and we’ll discuss material and thickness.
- Send an existing part. We can reverse engineer a tool from your existing part.
Tooling Questions
Does the tool control both sides of the part?
The tool-contact surface receives the shape most directly. Material thickness and stretching also affect the opposite surface.
Does every project need prototype tooling?
It depends on what’s uncertain about the design and what you’ve already tested. Agree on what a prototype would test before adding that step.
Are trim fixtures part of the forming tool?
Trim fixtures do a separate job. Check whether the tooling scope and ownership terms include them.
Can I move a tool I already own?
That depends on your release terms and the receiving supplier’s equipment. Check your agreement and have the supplier confirm tool condition and machine fit.
How do we define first-article approval?
Use the current drawing, critical dimensions and assembly requirements. Set appearance expectations and name the person approving the first articles.
Send us your tool, design or part
We’ll quote the part.
Call: (740) 868-8140 · Email: orders@shirleyks.com · 1150 Newark Road, Zanesville, OH 43701